Installing a stern seat in a canoe looks like a pretty simple process, that is until you actually try to do it. The novice builder will soon discover that accurately fitting the seat involves cutting compound angles at each of the four corners of the seat, and that the width and spacing is critical, or else the seat will fit poorly, with ugly gaps and odd angles. So, the following is offered as a guide to getting it right the first time. Before you can begin fitting the seats, you must install all of the thwarts to ensure that the hull assumes its final shape and correct width.
As with all of our Builder's Notes pages, you can click on the small images below to see them enlarged.
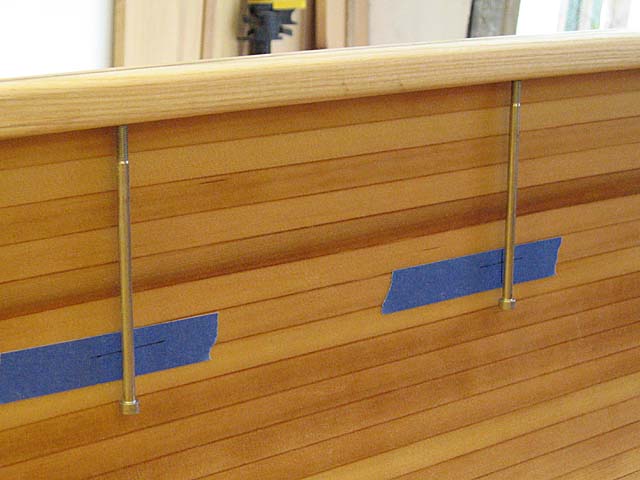
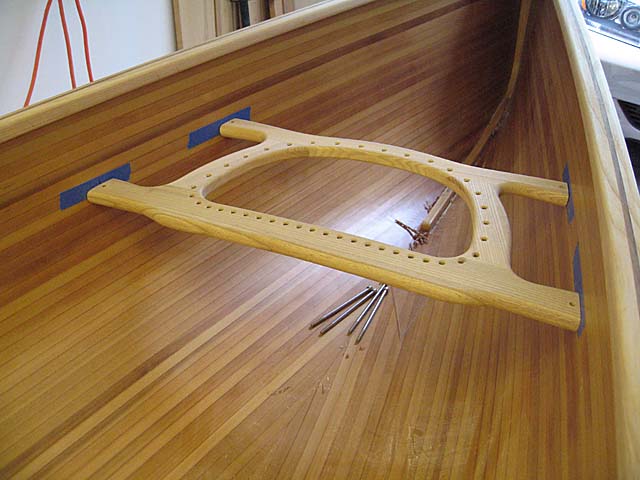
Begin by applying a four pieces of masking tape to the inside of the hull, where you want the top edge of the seat to be. At this point, you should also have worked out what the exact spacing of the hanger bolts will be along the gunwales. You can check this by seting the seat on top of the gunwales, and see where the transverse centerlines of the front and rear seat cross-members intersect the gunwales. make sure that the hole locations for the hanger bolts are the same distance from the end of the canoe on each side of the boat. Take you time and get it right - there are no second chances here!
Note that in these photos, you cannot actually see the hanger bolt holes, because this canoe was built using my hidden-hardware method, so the holes were drilled from the underside, before the gunwales were attached to the hull permanently. Otherwise, your process will be the same.
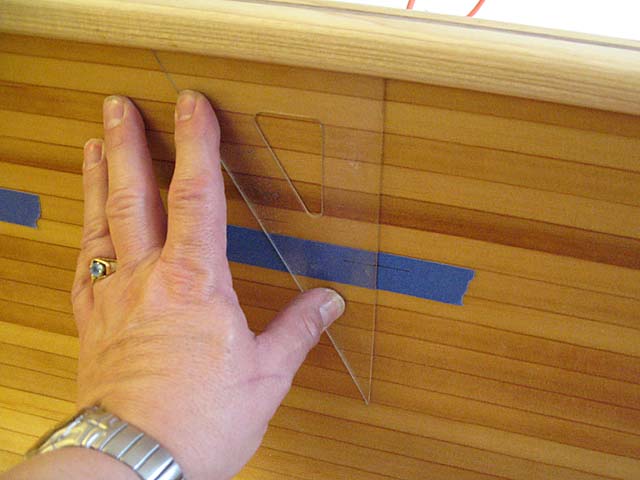
Draw a horizontal line along the masking tape to show exactly where the top surface of the seat will be. You need to take into account several factors for drawing this line, including the length of the spacer blocks, the length of the bolts, the desired height of the seat, and so on - everything has to work together. Next, using a draftsman's set square or similar, draw a vertical centerline from the hole locations down to the masking tape. These reference marks on the tape now show where your seat has to be cut and fitted to.
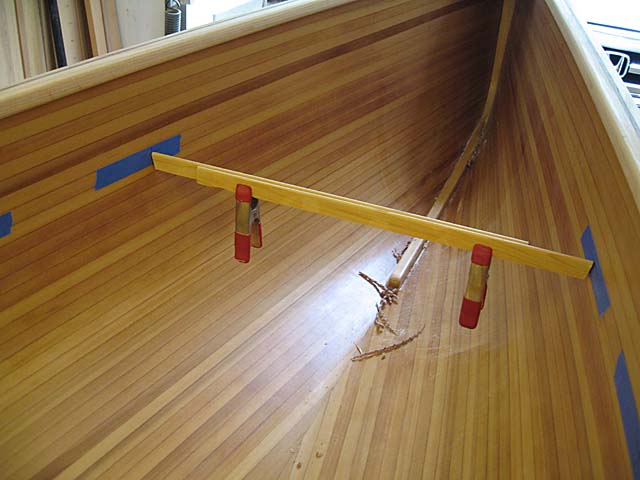
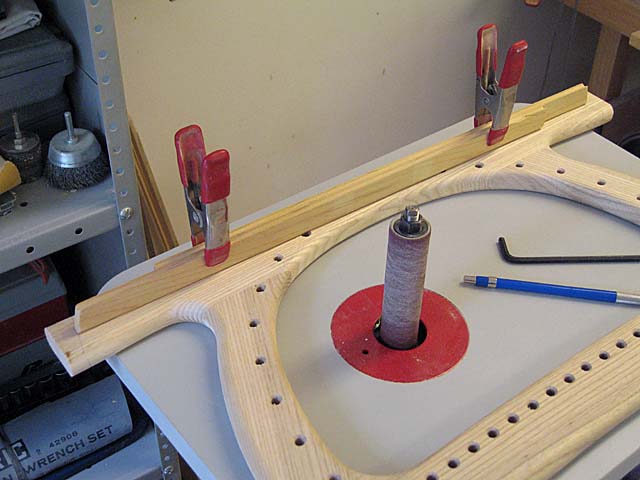
Make up a simple width guage to obtain measurements and transfer them to the seat. Two scrap pieces of strip and a couple of spring clamps will do quite well. Set them for the width across the inside of the hull exactly at the rear cross member.
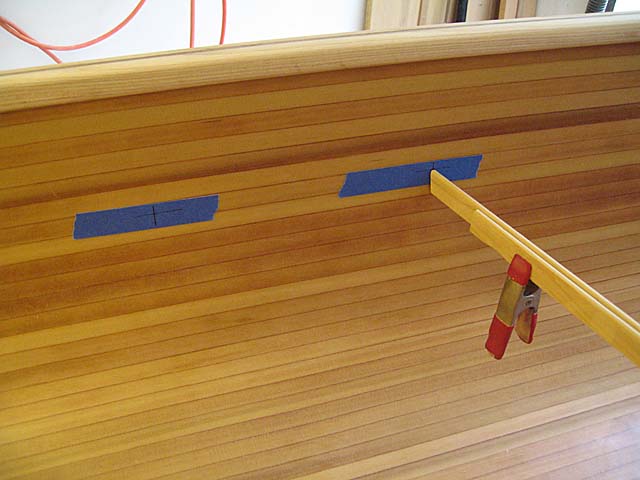
Transfer the measurement to the seat frame. Before you do so, carefully mark the centerline of the seat from front to back on the front and rear cross members, so that you can be sure that when you mark the cut points, that the front and back seat rails are properly aligned on center. If your seats are anything but square, this step can be tricky, so take your time and get it right.
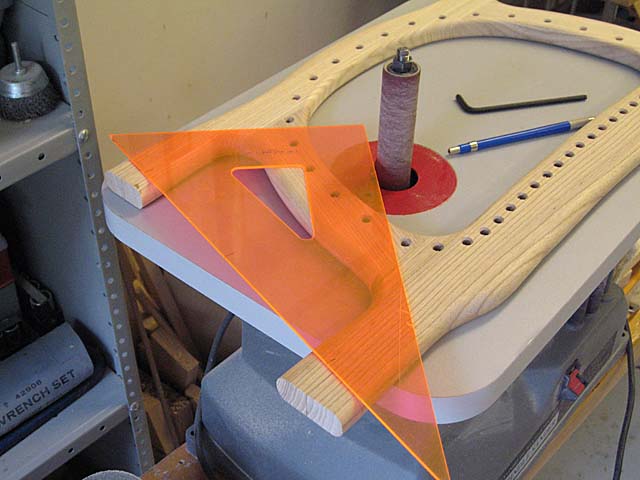
Do the same for the front cross member. Then, lay a straight edge across the two marked points, and draw a reference line across each leg, intersecting the marks. This line you have just drawn marks the top edge of the cut-off for the seat legs, but you can't cut just yet! Before you can cut, you need to measure and mark the corresponding vertical angles of the cut.
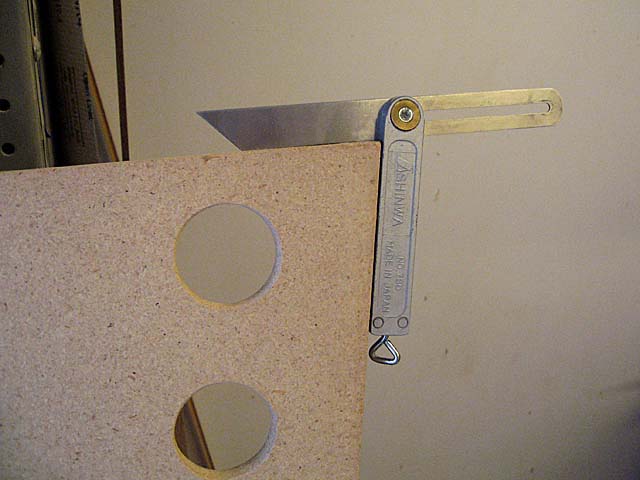
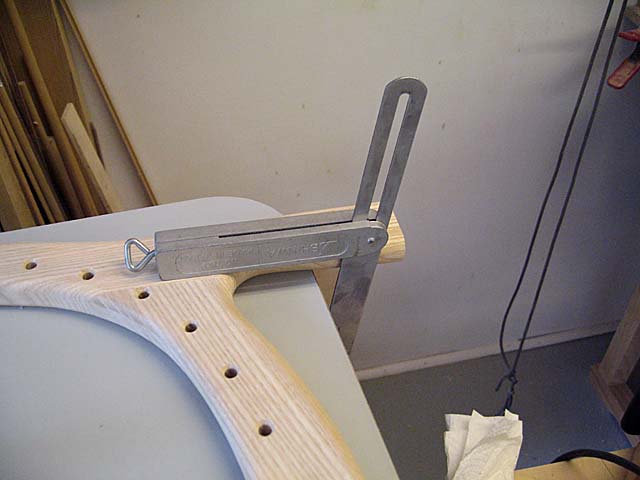
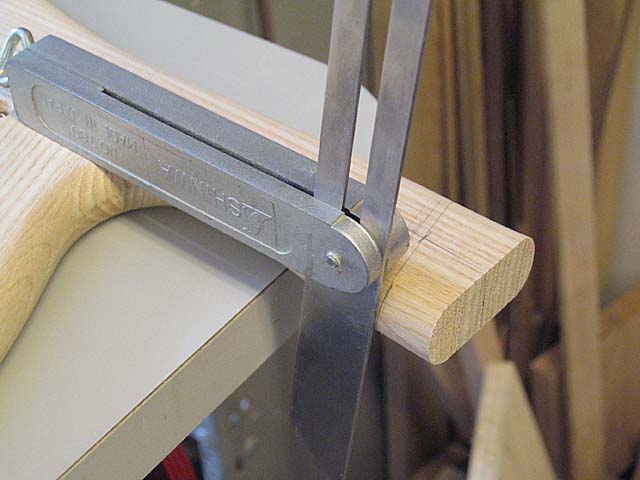
To measure the correct vertical angle, you can use a sliding bevel gauge to check the closest Station, provided that the vertical curve of the hull is straight between the gunwales and the seat like it is on a Winisk or Kipawa. If that is not the case, use the closest Station, and draw a horizontal line across it to show where the seat will be positioned, and measure the angle to the hull surface at where the line hits the edge. Transfer this angle to both sides of the seat leg. Do the opposite side as well. Then, repeat the process for the front cross member of the seat.
What you have now are the cut lines for the seat frame, but hold on! This compound angle can be tricky to cut perfectly, and that assumes that you have made no errors so far. My approach at this point is to carefully complete drawing the lines all the way around each leg, and then cut the legs off leaving at least 1/16th of an inch extra material still to go. Leave a bit more if you're not too sure. Then, you attempt to hold the seat frame in position using the reference marks on the masking tape as a guide. At this point, it will not fit correctly, but you must examine the compound angles closely. If your cuts are perfectly lined up, but the seat is simply a bit too wide, then you can gradually touch up the ends with a belt sander or by similar means, until the seat goes exactly where it is supposed to.
On the other hand, if the first test fit shows that things are not lining up, study it very closely to see where and how you need to adjust it. Using a belt sander or similar means, touch up each leg, just a tiny bit at a time, and keep rechecking the fit often so that you know you're going in the right direction before you g too far. This can be a little tedious, but trust me - it's a lot faster than making new seat frames because you went too far.
If you have followed all of these directions, you should now be ready to install the seat. You will need to mark and drill the holes for the seat bolts, making sure that they are on the transverse centerlines of the seat legs, and that the holes follow the vertical angles of the ends. The bottom ends of the hanger blocks should also be angled to match, so that everything fits together well. As a finishing touch, I normally counterbore the bottom of the holes to recess the washer and nut (or in my case, the screw head) so that it will be virtually invisible once installed. This can be a bit tricky, and in fact, I had a special tool made by having a milling cutter ground down so that it had a 1/4 inch diameter pilot. If you're not sure whether you can manage this step, experiment on scrap wood before you attempt it on a real seat frame.